Family Circles Photo Wall: A How To Guide
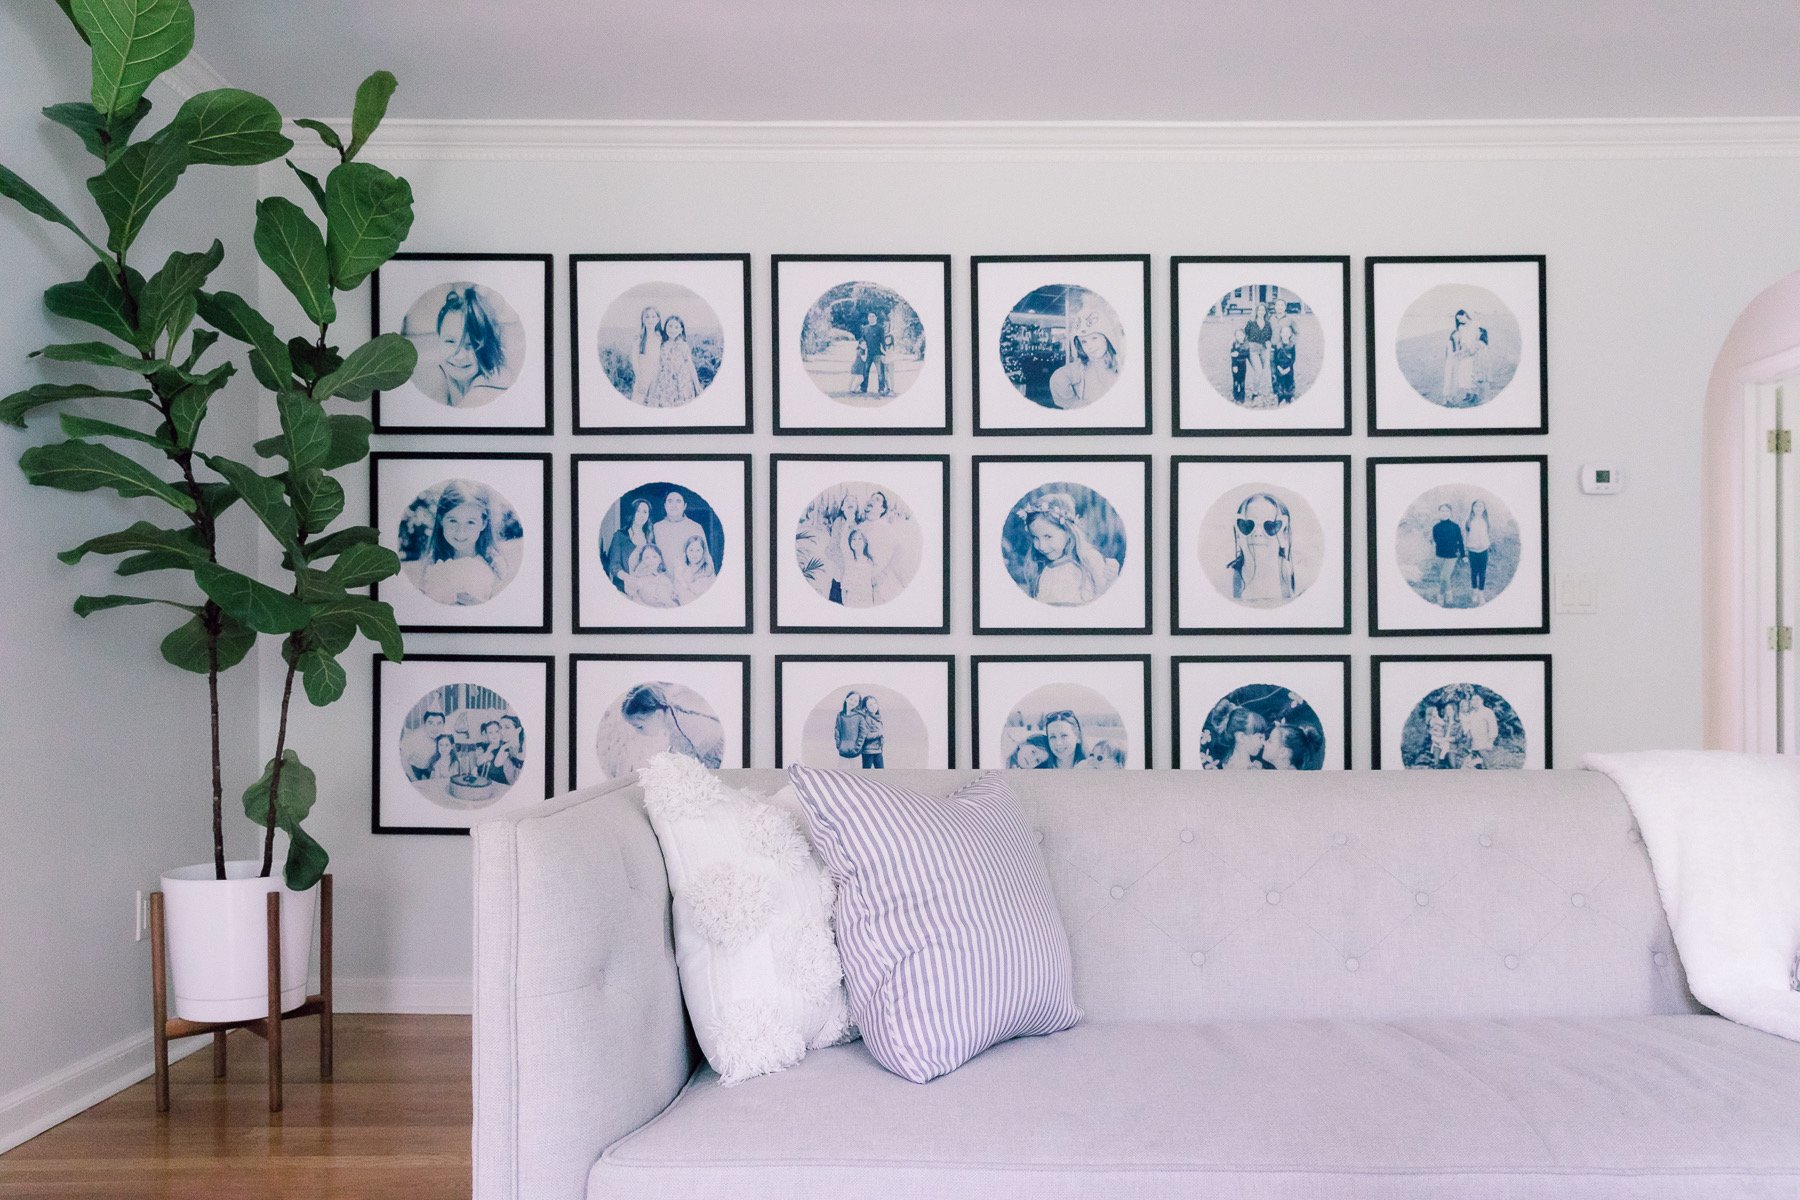
It's time to get the house ready for hosting, and those family photos are not going to hang themselves! Here's a really fun display idea that portrait and lifestyle photographer @maya.in.westport used to create this gorgeous gallery wall in her home with some cute images she'd shot of her daughters. This graphic photo wall doubles as a large-scale art installation, for a fraction of the cost. Maya printed her images at 18x18" and used ready-made frames from Amazon to avoid custom framing. She says choosing which photos to print was the hardest part - see her step by step guide below!
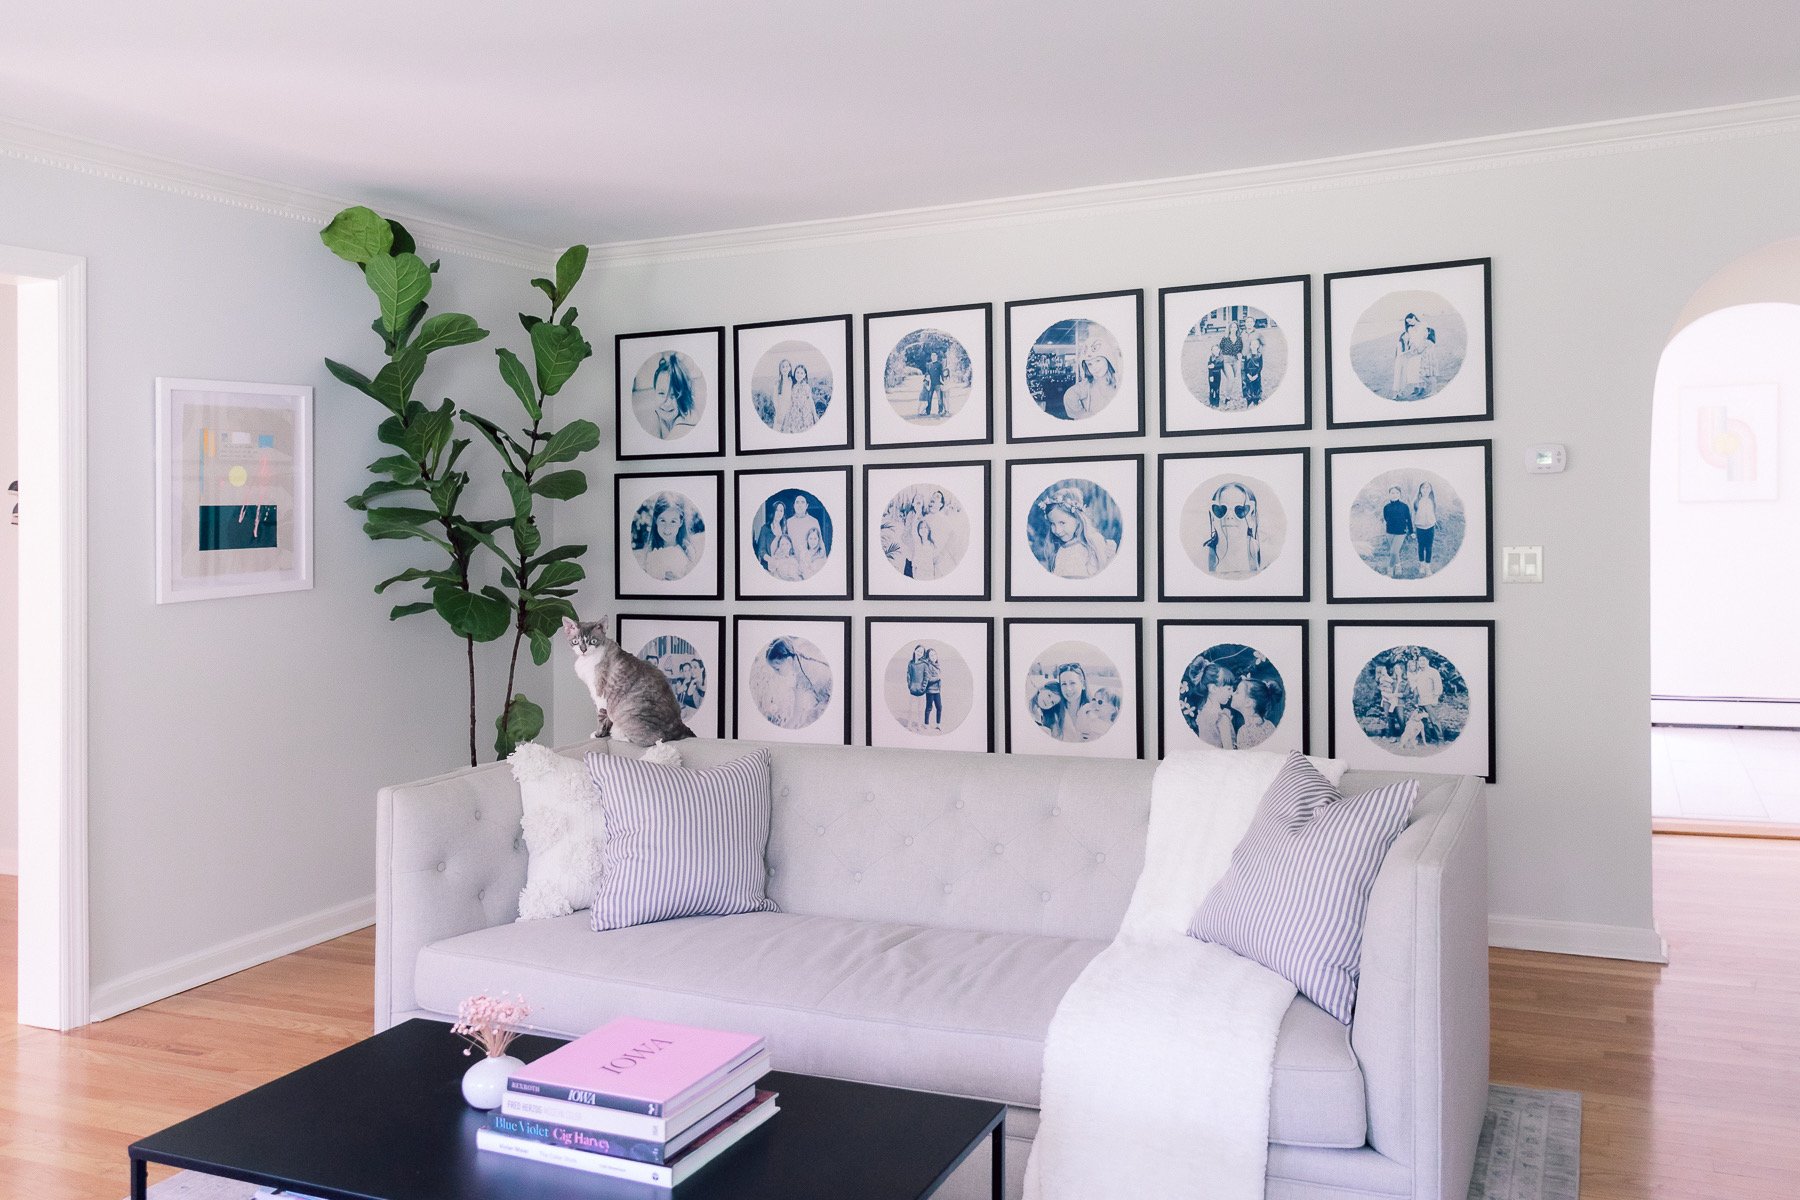
1. Measure the wall you want to decorate, and plan how many images you want to include, which will determine the general size needed. To keep it simple, I chose to have all my images the same size. I researched standard frame sizes to know what size to print without having to buy expensive custom frames. My frames are from Amazon and for 18x18 inch prints.
2. Choose the photos to print — this is usually the most difficult part for me!
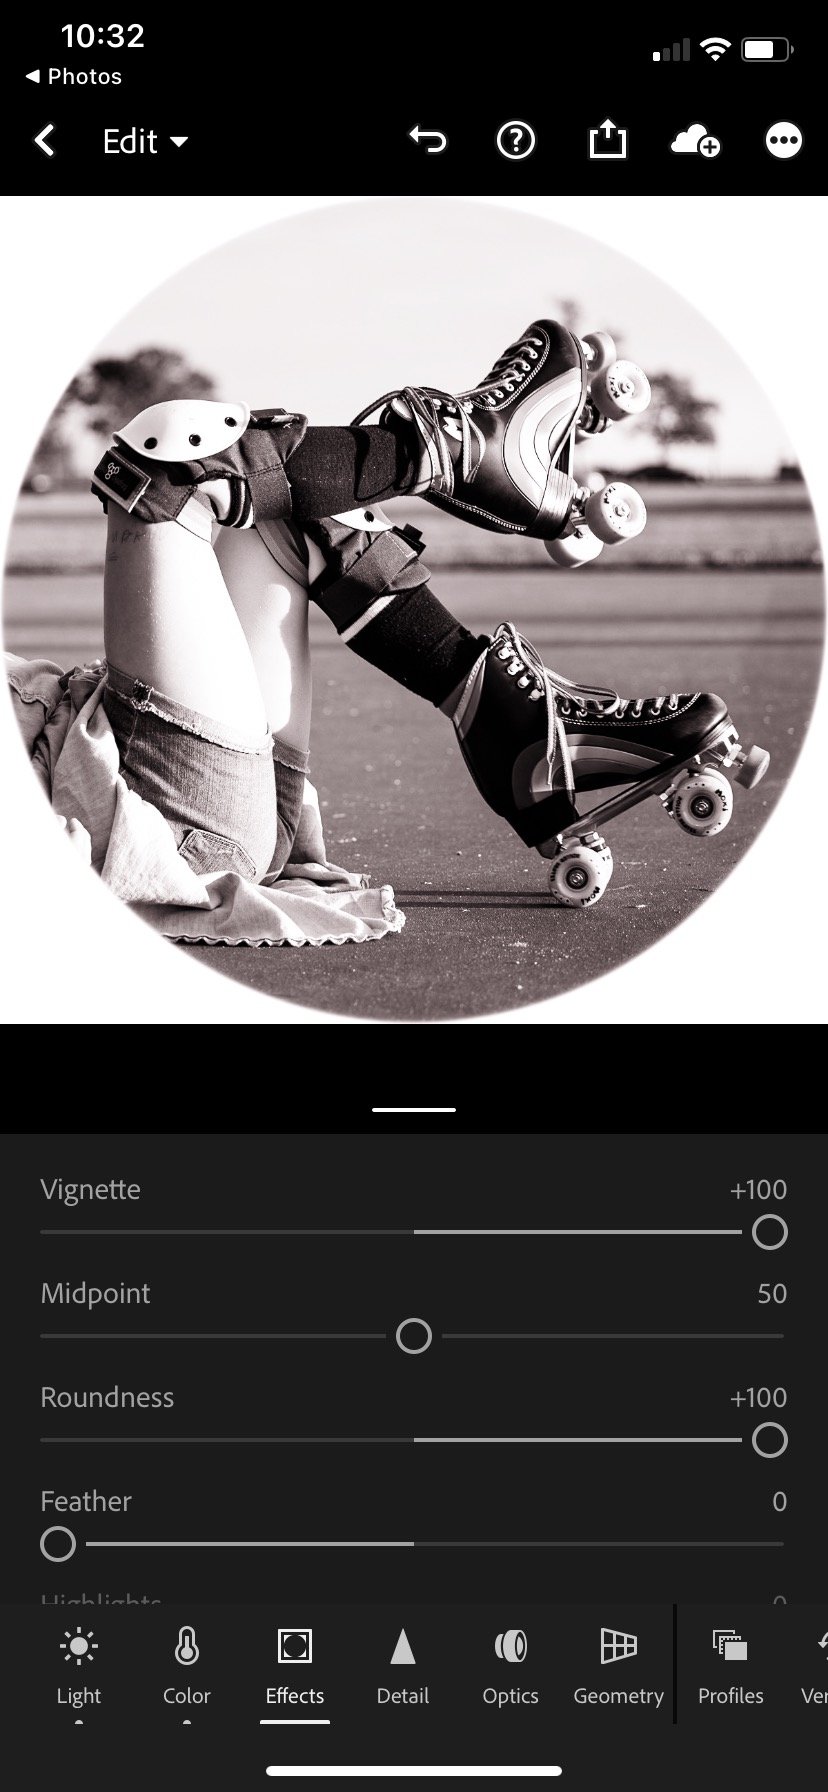
3. Crop to square and apply a hard edged vignette in Lightroom, which changes the image from a square to a circle.
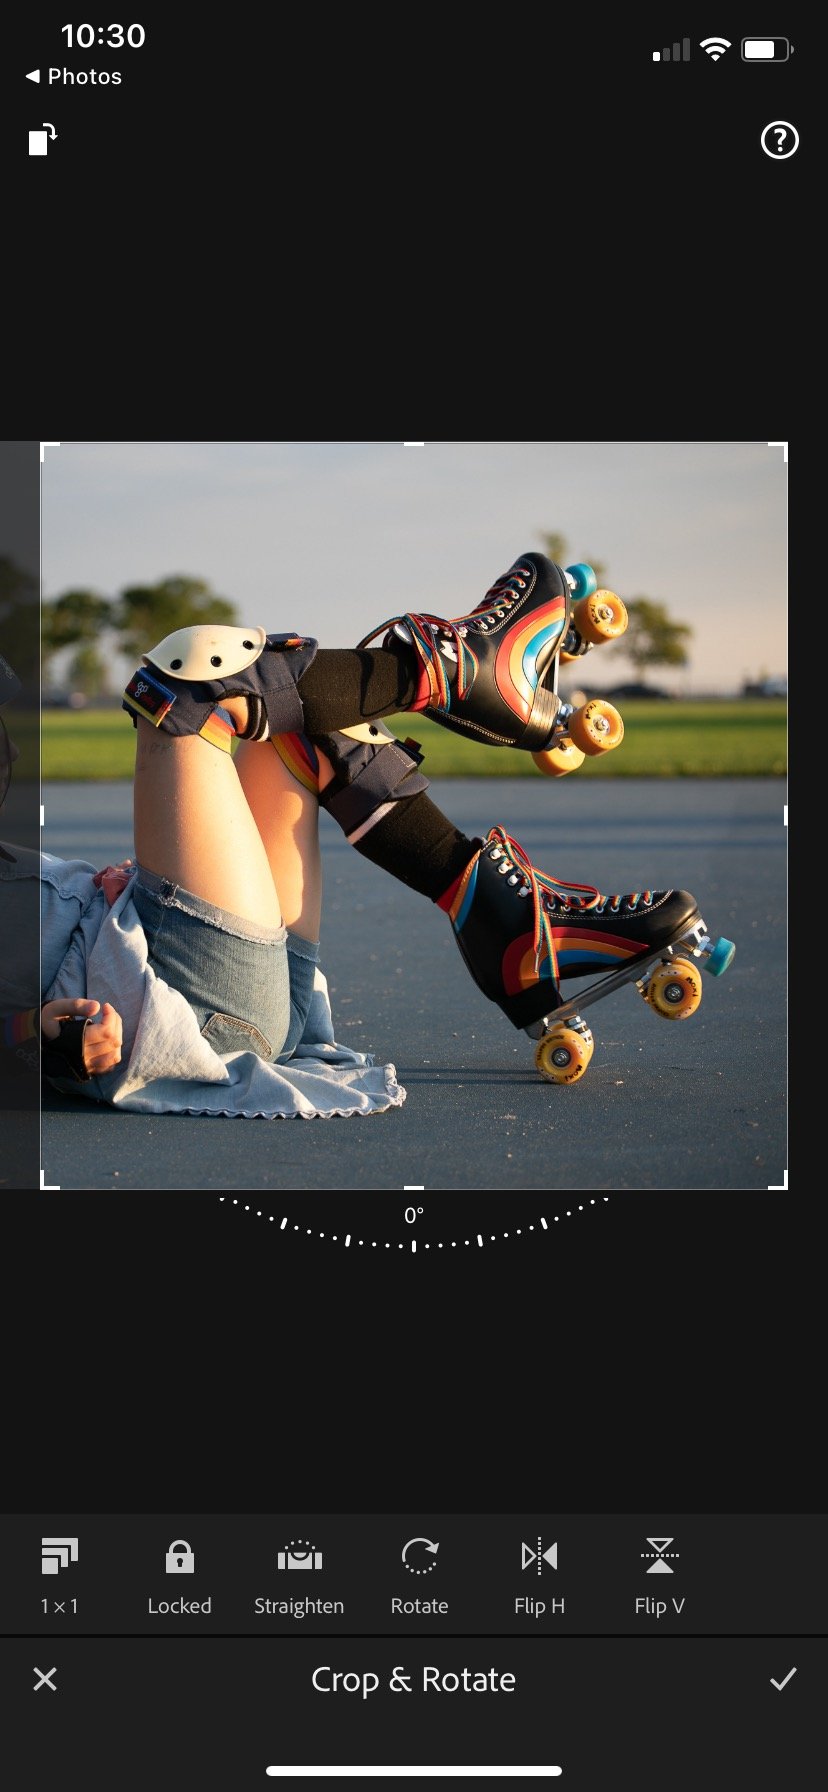

3. Crop to square and apply a hard edged vignette in Lightroom, which changes the image from a square to a circle.
4. Edit in black & white for cohesion. I chose to add dark blue color toning in Lightroom to mimic a cyanotype.

5. Send to your favorite printer — mine is gicleetoday.com, and my go-to paper is Hahnemuhle Photo Rag.
6. After printing, hand tear the circular image away from the white paper border. You could also use scissors, but I love the look of a deckled edge.

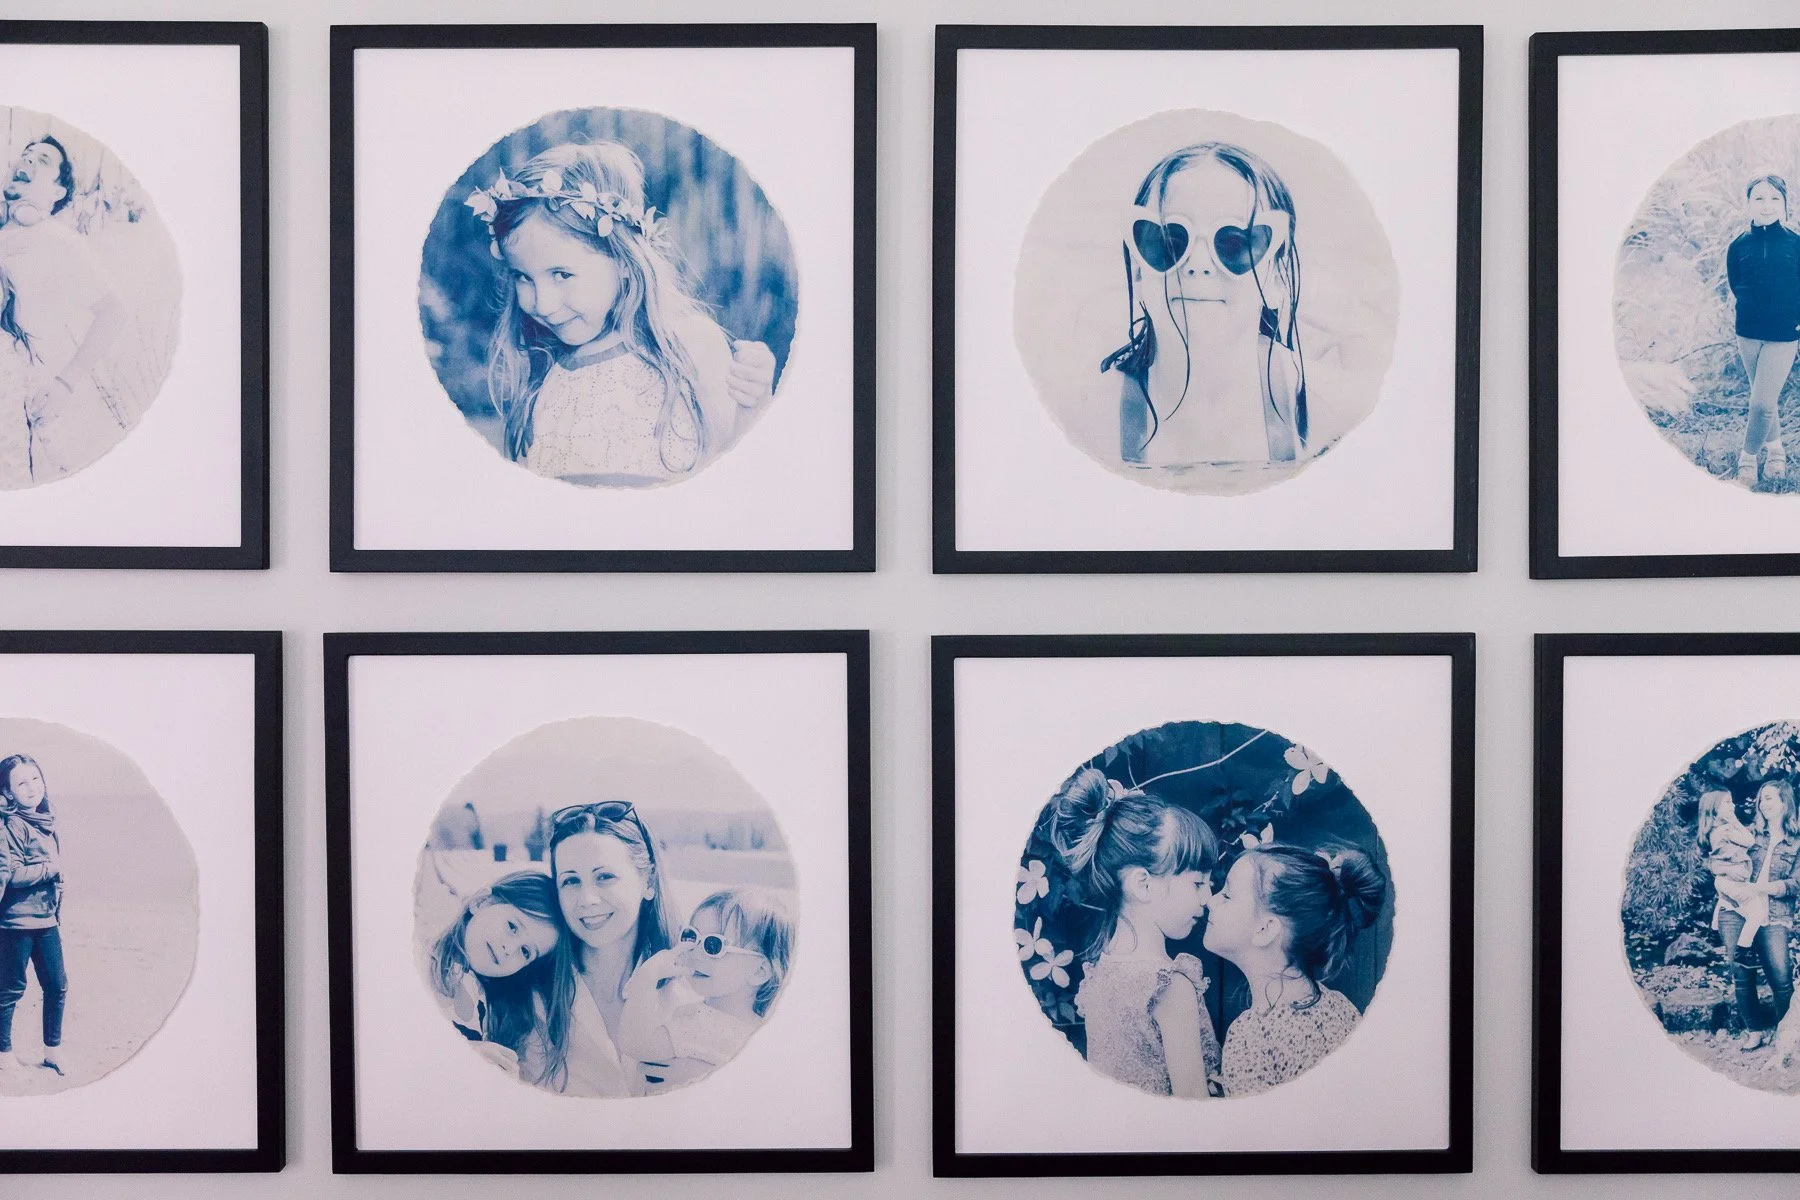
7. Coat print with melted beeswax (optional, done to protect the print since I chose not to use the glass that came with the frames — I try to avoid glare at all costs!).
8. Mount with acid-free double sided foam tape to Canson Canva-Paper backer. Foam board is another option, but I like the texture of Canva-Paper.
9. Measure wall spacing with laser level, mark for nail holes, and hang. I spaced the frames two inches apart from each other.
Extra Tip #1 - for the “easy option,” skip steps 6-8!
Extra Tip #2 - detailed instructions for editing in Lightroom - photos 5-10 1: unedited photo 2: crop to square 3: apply black and white filter4: create circle vignette 5: apply global color grading
All photography: Maya Porrino